- Part 1: Getting Started.
- Part 2: How Figma Plugins Work.
- Part 3: Wiring Things Up 👈 You are here
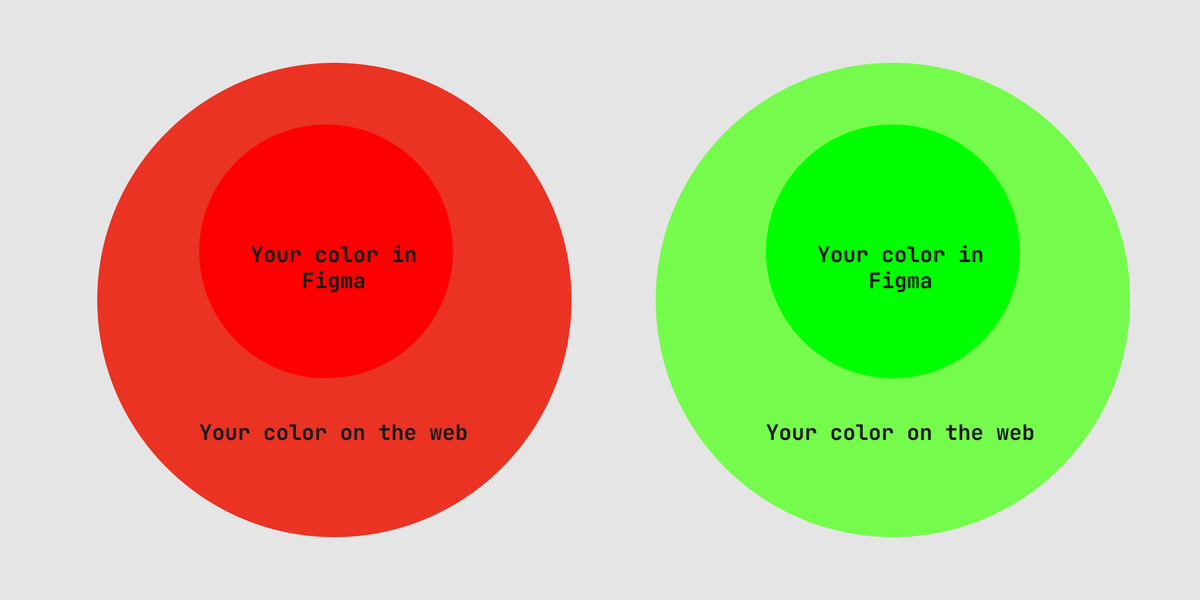
- Part 4: Working with Colours
- Part 5: Working with the UI.
- Part 6: Polishing Things Up.
The code for this section is here.
We can finally write some plugin code 🎉. First off we need to outline what our plugin needs to do.
🎰 Basic Functionality
The basic flow of our plugin looks like follows:

Let’s block this out in our code.
Go ahead and delete everything in code.js except for the line: figma.showUI(__html__) so we have a clean slate.
👂 Listening for Selection Changes
The first thing we are going to mock up is listening for user selection changes. We can use the built in selection change listener on the figma instance like this:
figma.showUI(html)

figma.on('selectionchange', () => {
  if (figma.currentPage.selection.length > 1) {
    // find nodes with fills that are of type SOLID
    const selection = figma.currentPage.selection.filter(
      node => node.fills.length > 0 && node.fills[0].type === 'SOLID'
    )
    console.log(selection[0].fills)
  } else {
    console.log('Select at least 2 layers')
  }
})
This takes two arguments. The first is a string that tells the listener what type of event to listen for. The second is a callback that will be fired whenever the event happens.
Now head back to Figma and hit Plugins -> Development -> Open Console to bring up the console. Run the plugin again from the same development menu and click on some elements you know have a fill. You should see something like this:
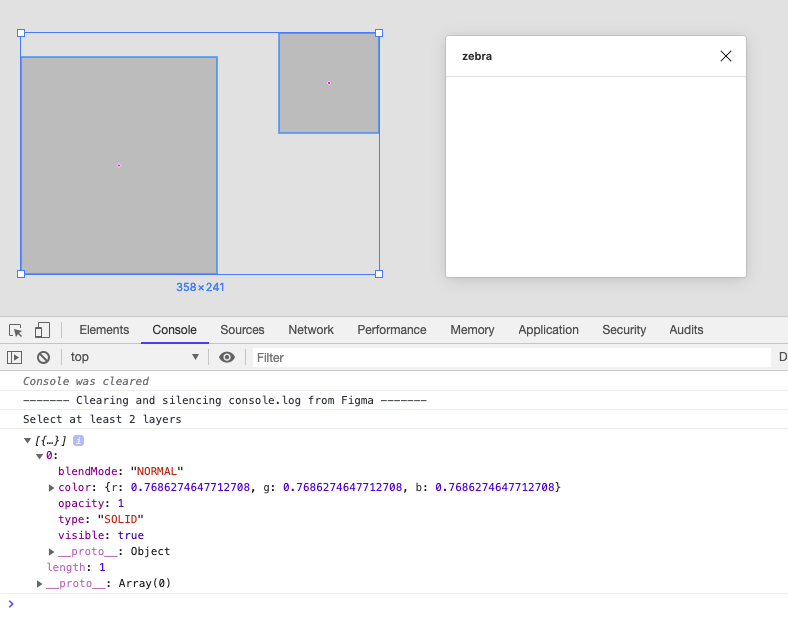
This is pretty cool. Every time we select something figma sends the selection to our plugin.
Take a second to look at the structure of the fills array. Objects can have multiple fills of different types. For our case we are only interested in SOLID fills and we are only going to use the first one we find. We could make the plugin better later but for now this is fine.
🧮 How to calculate colour contrast
The method for doing this is surprisingly simple (we’re going to follow the WCAG 2.0 guidelines here) and only has two steps:
- Get the relative luminance value of the two colours.
Luminance is the apparent brightness of a colour. To get this we sort of strip the hue and saturation from the colour and all that remains is the brightness of it. - Find the difference between the two luminance values.
To do this we just divide the larger luminance value by the smaller value. The resulting number represents the contrast between the two colours.
So immediately we know we will need two functions:
calculateLuminance(color)calculateContrast(color1, color2)
For now we are just going to mock them up, like so:
figma.on('selectionchange', () => {
  if (figma.currentPage.selection.length > 1) {
    const selection = figma.currentPage.selection.filter(
      node => node.fills.length > 0 && node.fills[0].type === 'SOLID'
    )
    // filter out the first fills of each layer
    const fills = selection.map(node => node.fills[0])
    const contrast = calculateContrast(fills[0].color, fills[1].color)
    console.log(contrast)
  }
})
If we run the plugin now we should see something like this:
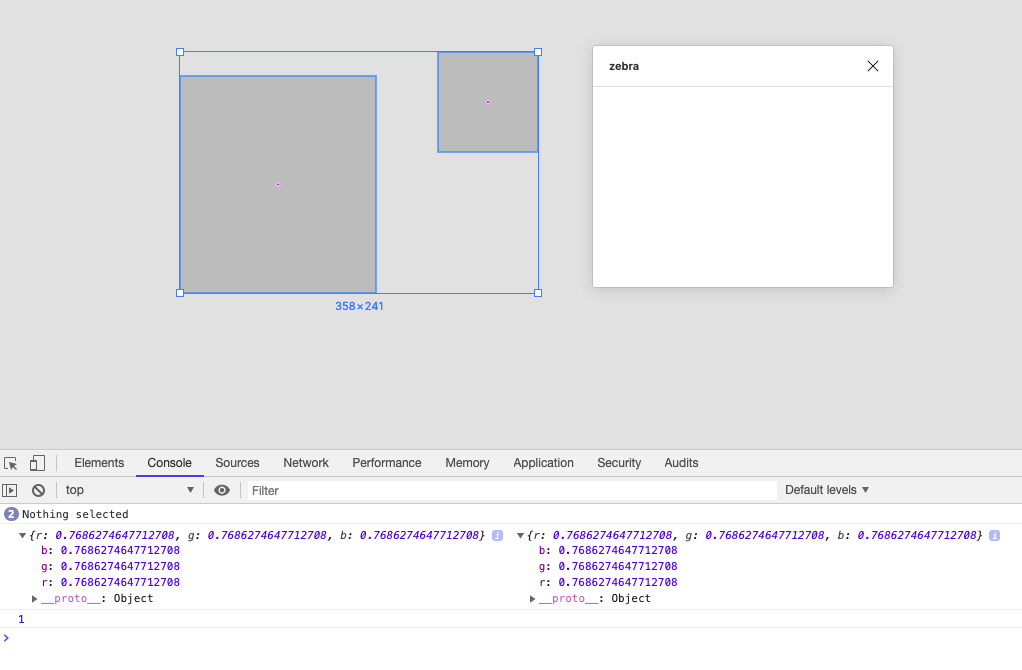
Alright, so we can see it’s logging the two colours we passed in as well as the number 1 which is what we are returning from the mocked luminance function.
✉️ Sending Results to the UI
Now we have our fake contrast value we want to send it to the iframe so we can show the user the results. To send messages to the ui we can call another method on the figma instance: figma.ui.postMessage(). We’re going to encapsulate this in another function that we will call whenever we need to tell the ui to update:
function sendContrastInfo(contrast, foreground, backgound) {
  figma.ui.postMessage({
    type: 'selectionChange',
    foreground,
    background,
    contrast,
  })
}
postMessage() takes a pluginMessage as an argument and we have passed in an object which gives us the chance to pass more data in the message. It also allows us to provide a type property so that when the message is received in the iframe we can decide what to do based on the message type.
We call this in our selection listener like so:
figma.on('selectionchange', () => {
  if (figma.currentPage.selection.length > 1) {
    const selection = figma.currentPage.selection.filter(
      node => node.fills.length > 0 && node.fills[0].type === 'SOLID'
    )
    const fills = selection.map(node => node.fills[0])
    const contrast = calculateContrast(fills[0].color, fills[1].color)
    sendContrastInfo(contrast, fills[0].color, fills[1].color)
  }
}
In the iframe we need to receive the message so go ahead and open up ui.html and add the following:
<script>
  window.onmessage = async event => {
    const message = event.data.pluginMessage
    console.log(message)
  }
</script>
window.onmessage() is a browser event handler that listens for messages sent to a window. Events have a data property and Figma nests their plugin messages in a pluginMessage property so thats what we are intercepting here.
Make sure to remove any other console.log() so we don’t get confused. Then run the plugin again and make some selections:

Boom! 🎉
This is awesome. We now have everything we need to string things together:
- We are listening to selection changes.
- Passing the selection to a function that “calculates” contrast.
- Sending the results to the UI (even though we aren’t displaying them).
For now, we aren’t going to update the UI. We are just going to check that the messages we get there are correct by logging them.
In the next chapter we are going to flesh out the functionality.