- Part 1: Understanding the API.
- Part 2: Setting up a server.
- Part 3: Setting up Figma.
- Part 4: Making a request.
- Part 5: Processing the response.
- Part 6: Setting up a front-end.
- Part 7: Finishing up. 👈 You are here
You can find the code for this tutorial here.
Jesus, this has been a marathon. If you think reading it was tough… I have no recollection of a time before I started writing this.
But if you are still here — congratulations. You beautiful nerd.
Bringing everything together.
Okay, so brief recap of that state of things since Part 6:
- We have our server on port 3001, which upon request talks to the Figma endpoint and spits out some data. Inside that data are some image urls we need.
- We have a React client, running in a development server on port 3000. It is set to use our 3001 server as a proxy.
We need to configure our React application to take the data from our server and display it. Simple.
Before we crack on, we have some things to fix. Open up server.js and edit the app.use method to look like this:
We made two changes:
- Changed the path to
/frames. We don’t necessarily want to use the route path, so we are just changing it to something that makes sense. - Removed
JSON.stringify()from the response. We are going to handle the formatting on the client, so no need to send it as a string.
Quick note: Using one big app class like we are doing for the purpose of this completely defeats the point of using React. Our app is simple enough to get away with it, but you really want to split things up into modular components.
Okay, we’re good to go. Open up client/src/App.js and delete everything between lines 8 and 23. It should look something like this:
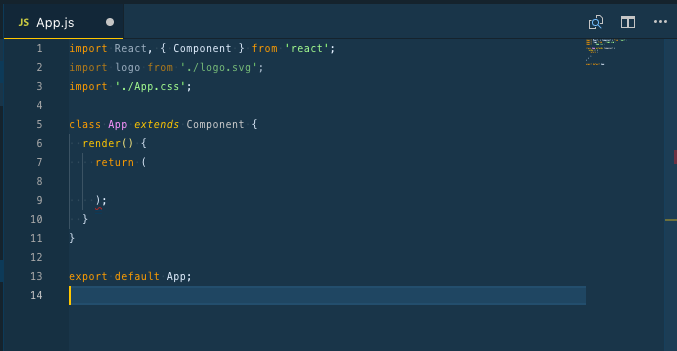
All we did was delete the boilerplate so we can add our own. This has left us with an empty class which React uses to create Components.
The first thing our component needs is some state. You can think of state as a sort of memory for our component — we use it to store stuff that the component needs while it is around. We need to save the response we get from the server in state.
Edit the class so it looks like this:
He we are initialising the state with a mock of the data our server will send. We are doing this because it allows us to set up a our component as if there is data there, before it has been fetched from the server. We’ll get more into that next.
Go ahead and edit the return so it looks like this:
class App extends Component {
  state = { images: [{ name: '', url: '' }] }

  render() {
    return (
      <div className="App">
        {this.state.images.map(
          //1
          (frame, i) => (
            <div key={i}>
              //2
              <img src={frame.url} alt={'figma component'} /> //3
              <p>{frame.name}</p> //3
            </div>
          )
        )}
      </div>
    )
  }
}
- We are returning a bunch of html here that we want our component to display, but you’ll notice that on line 9 of the gist we have some
{ }. In JSX (this html-like syntax React uses) we use them to indicate that we are going to write JavaScript.
The JavaScript we are writing is a.map()on every item in ourimagesarray, inside ourstateobject. We are telling React that for every item in ourimagesarray, produce the following html. Each item is passed down to this html so we can access its properties. This would have thrown an error if we didn’t initialise ourstateto have a mock of this structure asstatewould not have contained an array. - What is
key={i}doing here? Well React needs to keep track of each chunk of html it generates here and the only way to do that is to assign each one a unique key. We are using theindexof the array as our key. Notice the{ }that tells React that that value will come from JS. (There are plenty of reasons why you shouldn’t use the index of your array as a key, but for this simple case it’ll do.)
It’s also worth noting that a.map()like this can only have one html child element, hence why we made sure to wrap our children in the parentdiv. If you don’t need adiv, you can use a<React.Fragment/>to get around this. - Here we are passing down the properties of the array to the children elements. The
urlis being used as the<img/>source and the name is being used as the text value in the<p/>
So that’s all gravy, but now we need to actually fetch the data from our server.
Add this componentDidMount() method to our component:
class App extends Component {
  state = { images: [
    { name: '', url:''  }
  ]}

 componentDidMount() {//1
    fetch('/frames')//2
      .then(res => res.json())//3
      .then(data => this.setState({ images: data }))//4
      .catch(error => console.log(error));
  }


  render() {
    return (
      <div className="App" }>
        {this.state.images.map(
          (frame,i) =>
          <div key={i} >
            <img src={frame.url} alt={"figma component"}/>
            <p>{frame.name}</p>
          </div>
        )}
      </div>
    )
  }
}
componentDidMount()is what is known as a life-cycle method in React. All it does is allow us to do something when our component becomes a part of the DOM (basically when it becomes visible).- The something we are doing is fetching some data from our server. Remember that our client is configured to use our server, running on
http://localhost:3001/, as a proxy. So when we tell it tofetch(‘/frames’)we are telling it to go to[http://localhost:3001/](http://localhost:3001/)framesand return the response. .then()is a chaining method used on promises. That’s not really critical to understand, but it allows us to sequentially do stuff once thefetchhas returned a result. “Hey, when you get that thing do this… and then this…. and then this…” The first thing we are doing is parsing the response as JSON.- Now that we have the data we need, we call
this.setState()which is a built in method for updating thestateobject in React. The argument it takes is the updatedstateobject. Importantly it makes sure that the component is re-rendered after thestateobject is updated, so that it actually displays the results of the change. Never directly editstatewithout usingsetState().
We pass in{ images: data }wheredatais our JSON response from the server. This syntax might be a bit tricky to get, but it’s called object de-structuring. The details aren’t super important but it looks for something with a key matchingimagesinside thestateobject and then we update it’s value withdata
If you hit save and run http://localhost:3000/ you should see this:
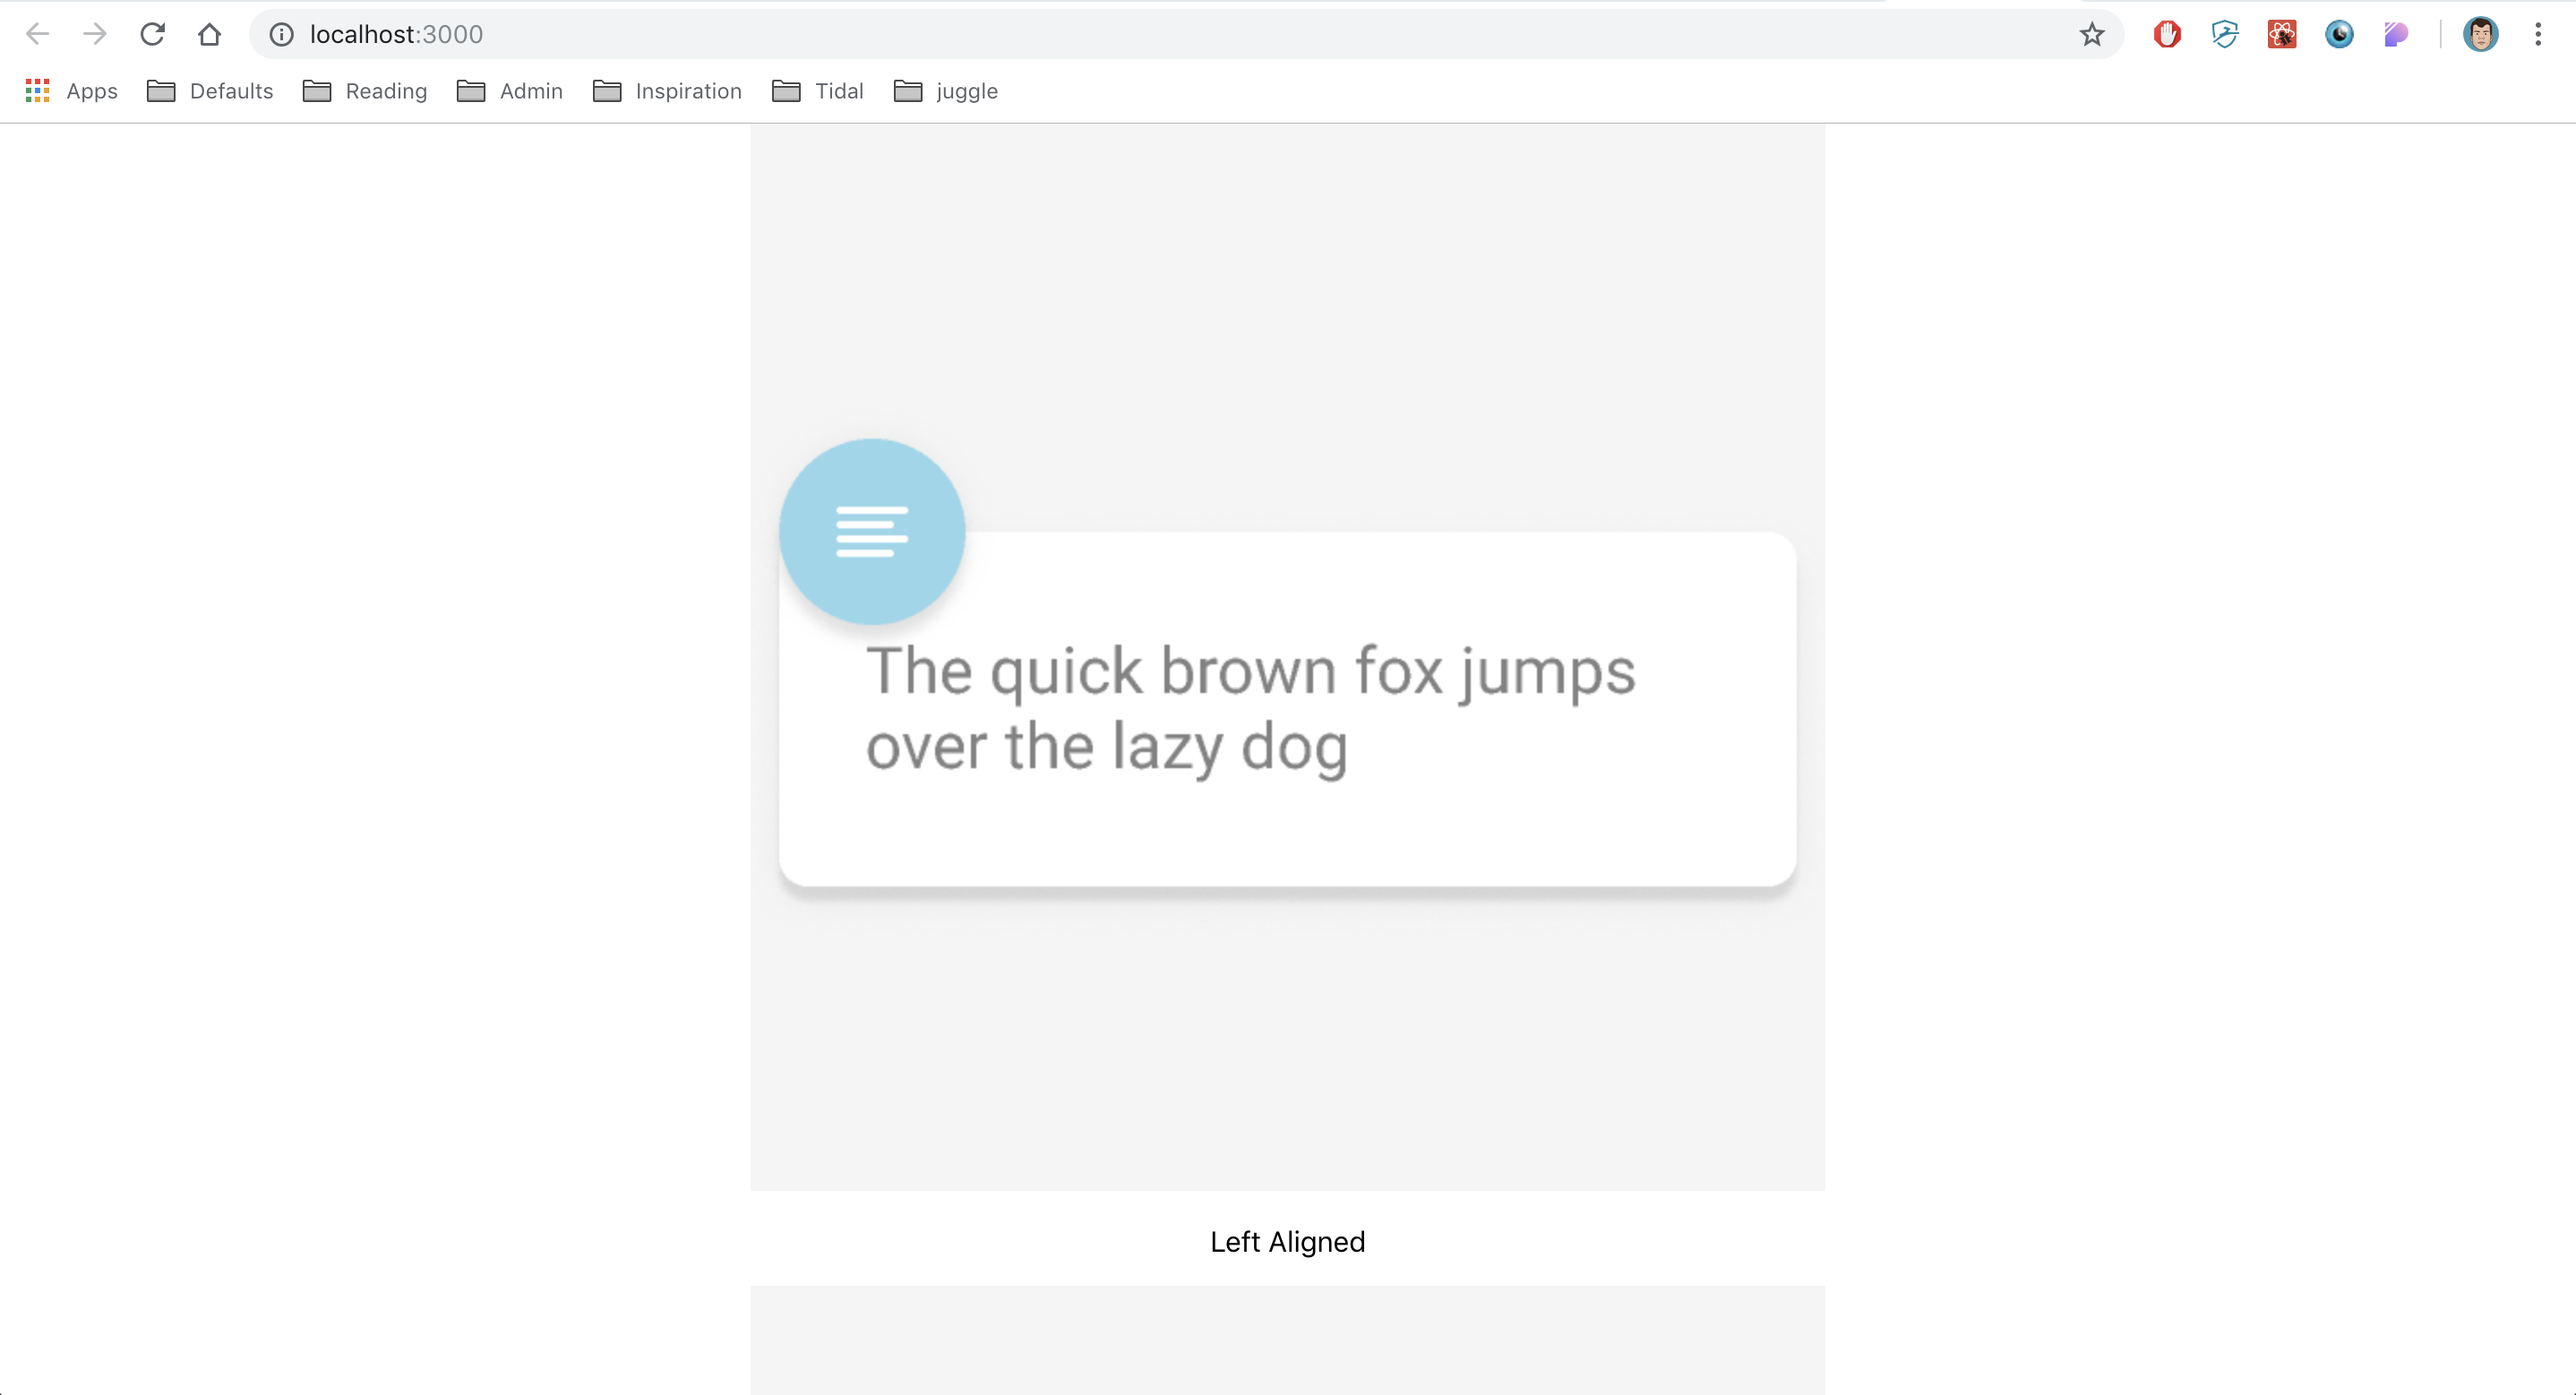
Woohoo, it worked.
But it looks a bit shit. So before we are done, we need to add some styling to our html. There are a bunch of ways to do this, but the simplest is to write some styles in objects and add them as inline styles to our elements. Update App.js to look like this:
var containerStyle = {
  display: 'flex',
  alignItems: 'center',
  justifyContent: 'center',
  margin: 24,
  height: '100vh',
}

var divStyle = {
  margin: 24,
}

var imgStyle = {
  maxHeight: 200,
}

class App extends Component {
  state = { images: [{ name: '', url: '' }] }

  componentDidMount() {
    fetch('/frames')
      .then(res => res.json())
      .then(data => this.setState({ images: data }))
      .catch(error => console.log(error))
  }

  render() {
    return (
      <div className="App" style={containerStyle}>
        {this.state.images.map((frame, i) => (
          <div key={i} style={divStyle}>
            <img src={frame.url} style={imgStyle} alt={'figma component'} />
            <p>{frame.name}</p>
          </div>
        ))}
      </div>
    )
  }
}
We have a bunch of style objects declared outside of our component, which we then attach to the relevant html components using inline styles.
Notice that the styles in the objects have a different syntax to normal CSS? To make the styles work this way we have to remove the — in property names and values and use camelCase instead. We also use , to separate styles rather than ; and remove unit types like px. It takes a bit of getting used to if you want to use this regularly.
Now if you hit refresh you should see:
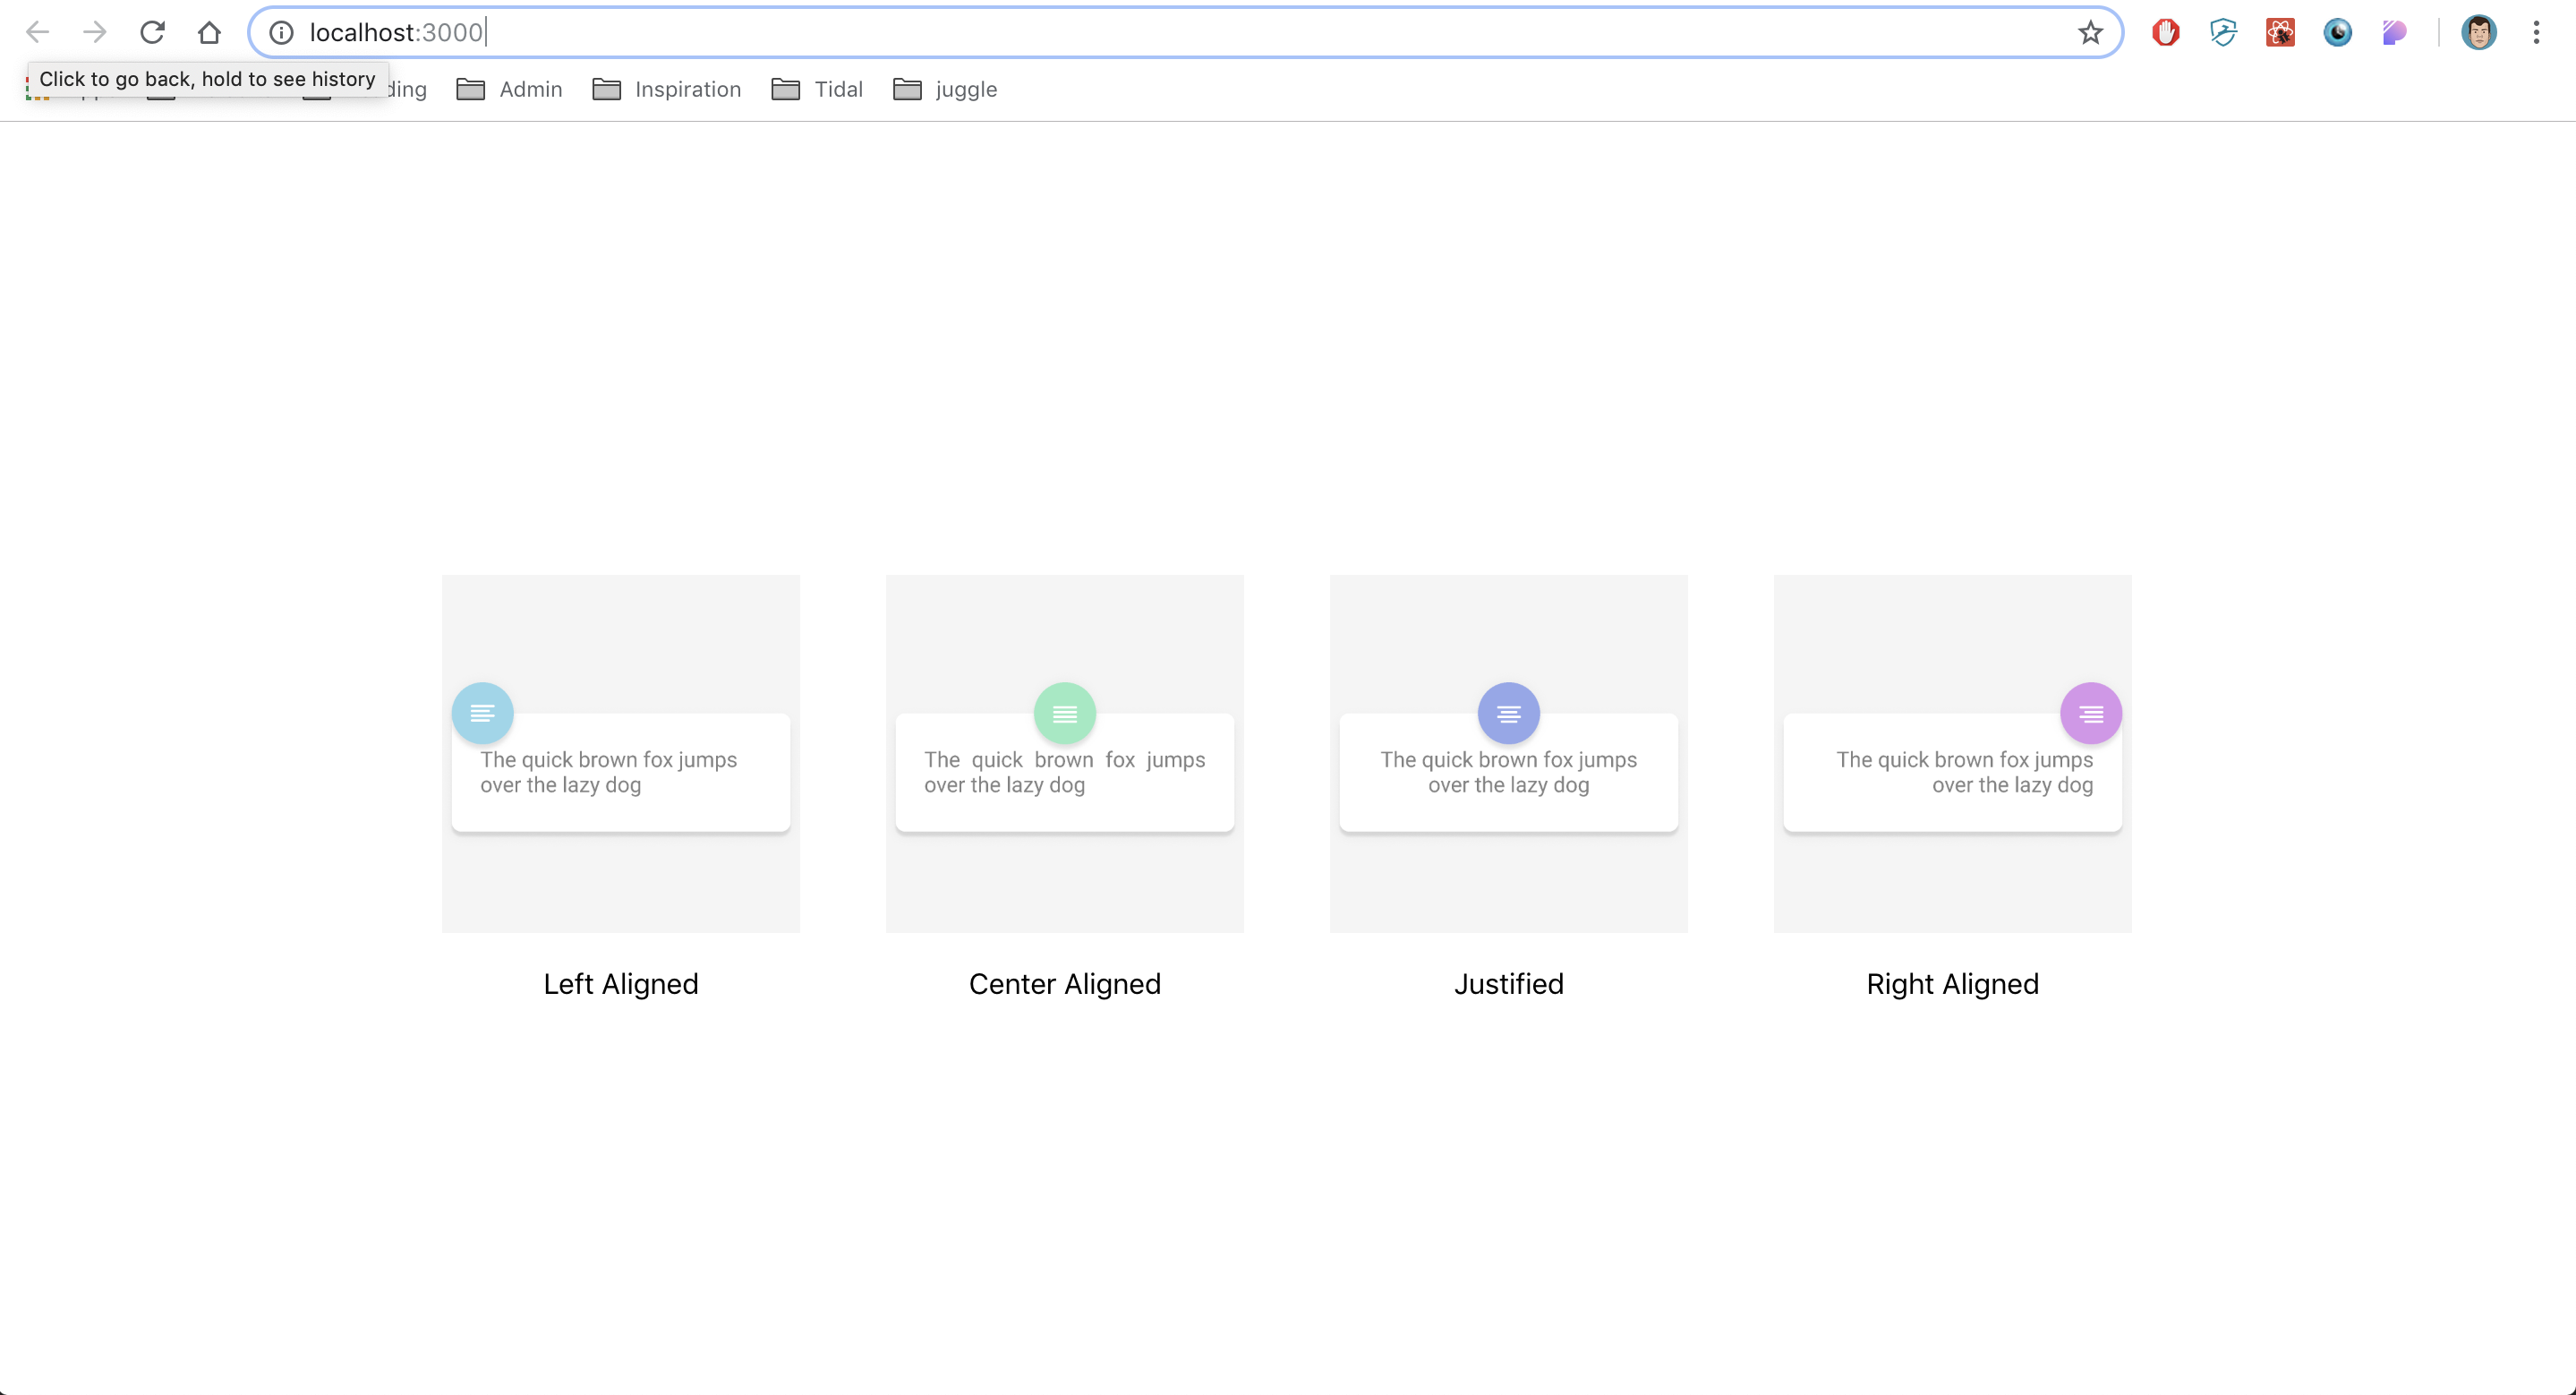
Boom. We’re done. If you want to you can work on displaying different parts of the document. Maybe try create a rudimentary inspector that shows the attributes of each element in greater detail.
Or don’t. You do you.
Thanks for reading. Hope it was helpful.